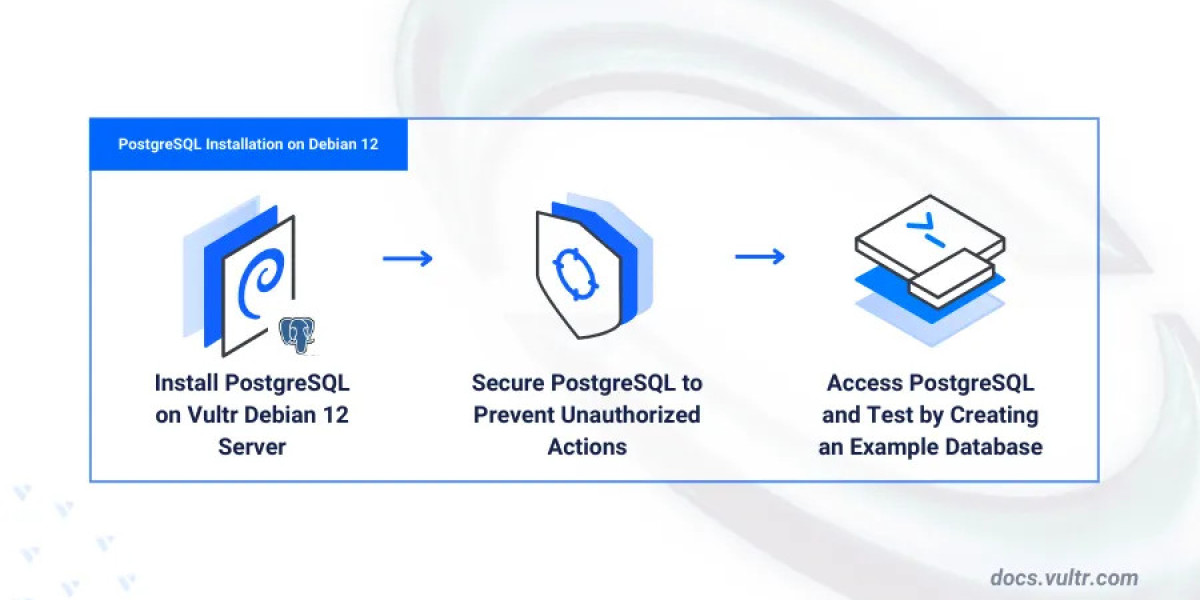
Setting up a reliable and secure database is one of the first steps when deploying applications. PostgreSQL, an advanced open-source relational database system, is a top choice for developers, database administrators, and enterprises. If you're using Debian 12 and need a simple way to install PostgreSQL, this guide will walk you through the easiest method—following the Vultr Docs. Whether you're new to server management or just want a reliable installation process, you're in the right place.
Why Choose PostgreSQL on Debian?
PostgreSQL offers robust features like ACID compliance, full-text search, JSON support, and advanced indexing techniques. Debian, known for its stability and security, is a natural environment for PostgreSQL deployments. Combining them provides a solid foundation for any database-driven project.
The debian install postgresql process is easier than ever thanks to the official PostgreSQL repository and step-by-step instructions from Vultr's documentation.
Prerequisites
Before starting, ensure you meet the following requirements:
A system running Debian 12 (Bookworm).
A user with sudo privileges.
Access to the internet to install packages.
Basic command-line knowledge.
If you're using a fresh Vultr instance, the default configurations will work just fine.
Step 1: Update Your System
Open your terminal and update your package list to ensure everything is current:
sudo apt update && sudo apt upgrade -y
This makes sure your system is prepared for new installations and prevents potential dependency issues.
Step 2: Install PostgreSQL Common Package
Install the PostgreSQL common package, which sets up the necessary structure to add the official PostgreSQL repository:
sudo apt install postgresql-common -y
Then run the following script provided by the package to enable the PostgreSQL APT repository:
sudo /usr/share/postgresql-common/pgdg/apt.postgresql.org.sh
During this step, confirm the repository version for Debian 12 (Bookworm) when prompted.
Once the repository is added, update the package list again:
sudo apt update
Step 3: Install PostgreSQL
Now install PostgreSQL from the official repository:
sudo apt install postgresql -y
This command installs the PostgreSQL server along with necessary tools. As of Debian 12, this will usually install PostgreSQL 15.
To check the version after installation, run:
psql --version
Step 4: Start and Enable PostgreSQL
PostgreSQL usually starts automatically. You can verify it with:
sudo systemctl status postgresql
If it isn't running, start and enable the service:
sudo systemctl start postgresql
sudo systemctl enable postgresql
Step 5: Secure Your PostgreSQL Setup
By default, a user named postgres is created. Switch to this user:
sudo -i -u postgres
Then access the PostgreSQL prompt:
psql
Set a password for the postgres role:
\password postgres
Exit the prompt:
\q
And return to your regular user:
exit
Step 6: Create a Test Database (Optional)
To ensure everything works, you can create a test database:
sudo -i -u postgres
createdb testdb
psql testdb
You'll now be inside the test database, ready to run SQL commands.
Final Thoughts
With just a few commands, you've completed the debian install postgresql process successfully. Thanks to Vultr's detailed documentation, setting up PostgreSQL on Debian 12 is no longer a complex task. Whether you're setting up a development environment or preparing for production, this method ensures your database is installed securely and configured correctly.
PostgreSQL on Debian is a powerful combination that delivers performance, reliability, and flexibility. Follow Vultr's Docs to make installation smooth and error-free—no advanced sysadmin knowledge required.
So go ahead, spin up your server, and get started with PostgreSQL the easy way.