Introduction
Many Nintendo Switch users prefer managing their custom firmware using their phones. If you've ever wondered how to switch Hekate from Android , this guide will walk you through the entire process. By following these steps, you can launch payloads, manage bootloaders, and even control advanced settings without needing a PC. Tools like Hekate Switch make the process easier and more flexible for on the go users
What Is Hekate?
Hekate is a custom bootloader for the Nintendo Switch. It allows you to:
Launch custom firmware.
Load payloads directly from external devices.
Manage multiple system configurations.
Perform advanced recovery or maintenance tasks.
When paired with Android devices, Hekate becomes even more accessible since you don't need a full computer to manage your console.
Requirements for Switching Hekate from Android
Before starting, make sure you have:
A Nintendo Switch that supports custom firmware.
An Android smartphone or tablet with USB OTG support.
A USB C cable or OTG adapter.
A payload launcher app (such as Rekado or NXLoader).
The Hekate payload file ready to transfer.
Step by Step Guide
Step 1: Prepare Your Android Device
Install a payload launcher app (Rekado is highly recommended).
Grant the app necessary permissions to communicate with USB devices.
Place the latest Hekate .bin payload file on your Android storage.
Step 2: Connect to Your Nintendo Switch
Power off your Nintendo Switch.
Insert your jig or use RCM mode to prepare for payload injection.
Connect your Android device to the Switch using the OTG adapter and cable.
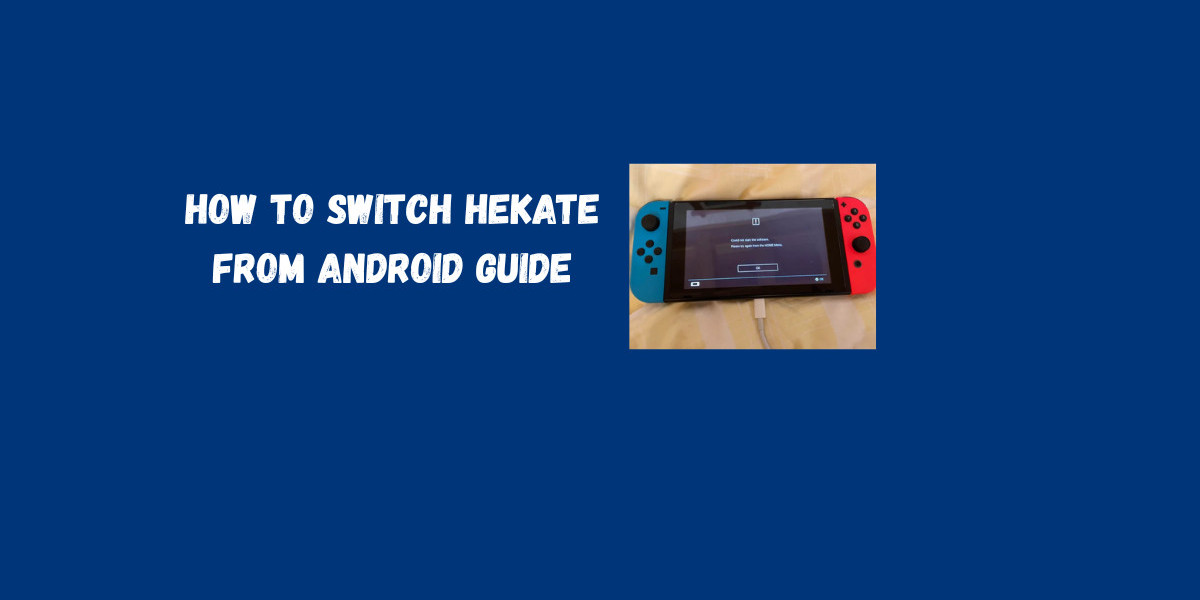
Step 3: Launch Hekate
Open the payload launcher app on your Android.
Select the Hekate .bin file.
Tap “Inject Payload” to start the process.
Your Switch should now boot into the Hekate menu.
Troubleshooting Tips
Payload not recognized: Double check that you downloaded the latest version of Hekate.
Device not connecting: Ensure your Android device supports OTG and the cable is working.
Crashes or freezes: Restart both the Switch and Android device, then try again.
Advantages of Switching Hekate from Android
No need for a computer.
Quick and portable solution.
Easy to update payload files.
Works with multiple configurations through apps like Rekado.
Conclusion
Learning how to switch Hekate from Android gives you flexibility and convenience when managing your Nintendo Switch custom firmware. With just an Android device, an OTG cable, and a payload launcher, you can boot into Hekate anywhere, anytime. Tools like Hekate Switch make the process smoother, ensuring you have complete control over your console even without a PC.