
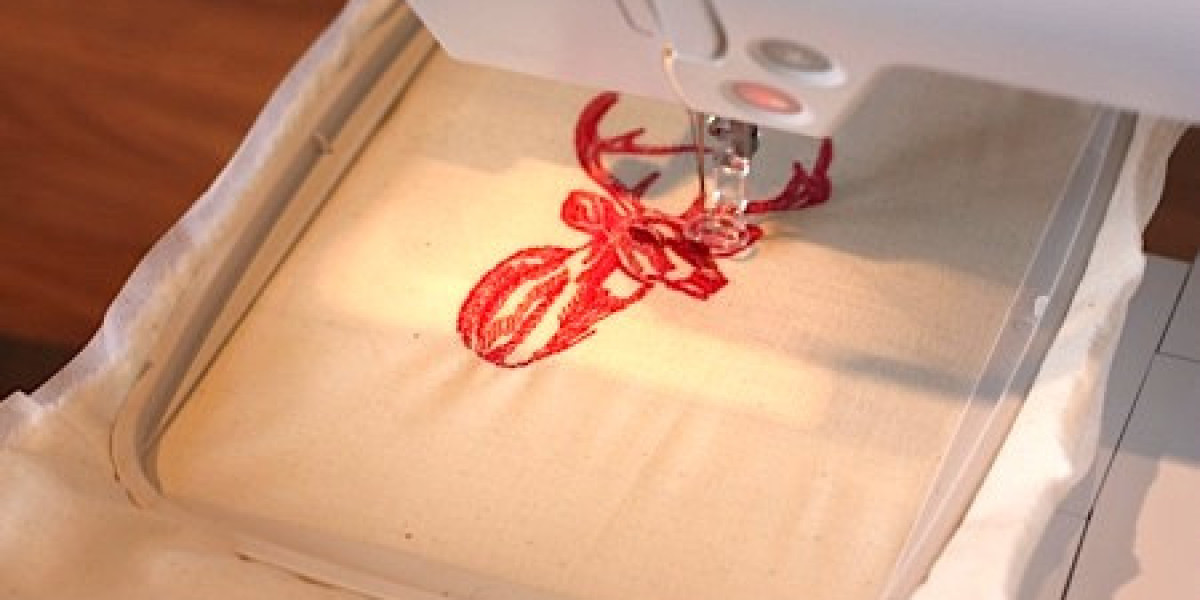

Introduction
You’ve seen it before—the perfectly stitched corporate logo on a polo shirt, the intricate design on a cap that looks like it was woven into the fabric itself. Then you’ve seen the opposite: a puckered, blurry mess that screams "amateur." The difference between these two outcomes rarely lies in the embroidery machine or the thread. The secret, the single most important factor, is the quality of the digital blueprint that guides the needle. This process, known as Embroidery Digitizing, is the bridge between your creative vision and a tangible, professional-grade stitched product.
Many people approach digitizing as a simple tracing exercise, but true mastery requires a deeper understanding. It's a blend of technical precision and artistic interpretation, where you become both an engineer and a designer. Whether you're a hobbyist looking to improve your craft or a small business owner aiming to elevate your products, mastering the core principles of digitizing is non-negotiable. This guide will walk you through the essential tips and techniques that separate professional results from disappointing stitch-outs.
The Foundation: It's Engineering, Not Tracing
The first and most critical mindset shift is to stop thinking of digitizing as tracing an image. Your embroidery machine is not a printer. It’s a blind, robotic tailor that needs explicit instructions for every single movement.
When you simply trace, you create a flat, one-dimensional file. A professional digitizer, however, builds a design. They think in terms of structure, layers, and physics. They ask:
What is the logical order to construct this design?
How will the thread pull on this specific fabric?
What hidden foundations does this design need to be stable?
Embracing this engineering mindset is the first and most important step toward mastery. You are not creating a picture; you are writing a detailed recipe for thread.
The Core Tools: Mastering Stitch Types
A master carpenter knows which tool to use for each task. A master digitizer understands the three fundamental stitch types and when to deploy them.
1. Fill Stitches (The Workhorse)
Fill stitches, often called tatami stitches, are a series of running stitches laid side-by-side in a pattern to cover large areas.
Professional Tip: Never use the same angle for all your fill areas. Change the stitch direction (e.g., 45 degrees in one section, 90 degrees in another) to create visual texture and prevent the fabric from becoming too stiff. Adjust the density based on the fabric—less for stretchy knits, more for stable twill.
2. Satin Stitches (The Showstopper)
Satin stitches are long, glossy threads that lie side-by-side. They are perfect for creating a smooth, raised effect on text, borders, and details.
Professional Tip: Keep your satin columns under 8-10mm in width. Anything wider is prone to snagging. Use shorter stitch lengths for sharper curves and tighter details to maintain a clean, defined edge.
3. Running Stitches (The Finishing Touch)
This is a simple, single line of stitches, much like a sewing machine’s straight stitch.
Professional Tip: Use running stitches for fine details, delicate outlines, and creating a "sketched" look. They are also perfect for adding small elements that would be lost with a thicker satin stitch.
The Secret Weapon: Never Underestimate Underlay
If there is one technique that will instantly elevate your digitizing, it’s the consistent and intelligent use of underlay. This is the hidden foundation of your design, sewn before the top stitches.
Why Underlay is Non-Negotiable:
Stabilization: It anchors the fabric to the stabilizer, preventing the shifting and pulling that causes puckering.
A Smooth Base: It creates a firm, level surface for the top stitches, ensuring they look perfectly even.
Improved Registration: It helps define the edges of shapes, making sure all the elements of your design align correctly.
How to Apply It:
For most fill areas, use a combination of a center run and an edge run underlay. For satin columns, a simple edge run provides crucial stability. Your software has these settings—make it a habit to activate them for every object. A design without underlay is like a house built on sand; it might look okay at first, but it won't hold up.
Outsmarting Physics: The Magic of Pull Compensation
Thread is under tension. As it stitches into the fabric, it pulls, which can distort your entire design. A perfect circle in your software can easily stitch out as an oval. This is where pull compensation comes in.
Pull compensation is the technique of digitally "over-correcting" for the physical pull of the thread. You intentionally make horizontal elements slightly wider and vertical elements slightly shorter in the software.
A Practical Guide:
Start by applying 0.1mm to 0.3mm of pull compensation to your satin stitches and fill areas. The exact amount will depend on your fabric and thread, but this is a reliable starting point. Stitch a test sample and adjust from there. This small adjustment is the key to maintaining crisp, accurate details and preventing distorted lettering.
The Blueprint for Success: Intelligent Stitch Sequencing
The order in which your design sews is not arbitrary. A logical sequence is crucial for efficiency, cleanliness, and the overall integrity of the design.
The Golden Rules of Sequencing:
Stitch from the Bottom Up: Always sew background elements first. This creates depth and prevents top stitches from being buried.
Group Colors: Minimize thread changes by stitching all elements of one color before moving to the next.
Work from the Center Outward: This helps distribute the tension evenly across the fabric, reducing the risk of overall distortion.
A well-sequenced design will have fewer thread trims and jumps, which means a faster runtime and a cleaner final product with less manual cleanup for you.
The Non-Negotiable Final Step: The Test Stitch
Your screen is a liar. A design can look flawless in the software but fail spectacularly on the machine. Never, ever skip the test stitch-out.
How to Test Like a Pro:
Use the Real Materials: Hoop a scrap piece of the exact fabric you’ll be using for the final project, along with your chosen stabilizer.
Observe and Analyze: As the design stitches, watch for issues. Listen for the sound of the machine—thread breaks often have an audible cue. Once finished, examine the result closely for puckering, registration errors, or poor coverage.
Troubleshoot and Refine: This is where the real learning happens. If the fabric puckers, reduce the stitch density. If shapes are distorted, adjust the pull compensation. Then, test again.
This cycle of stitching, analyzing, and editing is the hallmark of a true master. It turns digitizing from a guessing game into a precise science.
Conclusion: Your Path to Digitizing Mastery
Mastering Embroidery Digitizing is a journey that blends technical skill with artistic sensibility. It requires patience, practice, and a willingness to learn from every stitch. By moving beyond simple tracing and embracing the roles of engineer and designer, you unlock the potential to create stunning, professional work.
Remember the core pillars: select your stitch types strategically, never skip the underlay, compensate for thread pull, sequence your stitches logically, and always validate your work with a test stitch. These principles are your foundation.
Start with simple designs and apply these techniques one by one. Celebrate your progress, and don't be discouraged by imperfect results—they are your most valuable teachers. With consistent practice, you will transform your digitizing process, turning your creative visions into flawlessly stitched reality. The path to mastery is at your fingertips; now, it's time to take the first stitch.