Setting up a projector in a large auditorium is never as simple as mounting a unit on the ceiling and turning it on. Auditoriums come with unique challenges such as long throw distances wide seating arrangements high ceilings ambient light and the need for flawless visibility for every seat in the space. A well designed auditorium projector setup ensures that the audience receives a bright sharp and distortion free image regardless of where they are seated. As large venues continue to host conferences performances corporate presentations and school events the demand for high quality projection setups has increased. This guide covers everything you need to know about auditorium projector installation from choosing the right equipment to optimizing placement aligning the projector calibrating brightness and ensuring long term reliability.
Understanding Large Venue Projection Requirements
Auditoriums operate under demanding conditions that require professional grade projector solutions. These spaces are often larger than traditional meeting rooms have higher ceilings and require longer throw distances. They also involve varied seating layouts and are subject to more ambient light than smaller venues. Because of these factors choosing a projector designed specifically for large venues is the key to establishing the foundation of a professional setup. Moreover large venue projectors are designed to handle high brightness levels advanced lens options and complex installation angles. They also include professional connectivity options and image correction features to ensure that the content is displayed accurately across big screens. Before mounting or calibrating anything it is important to evaluate the auditorium dimensions seating layout screen position and lighting control. These factors influence how bright the projector should be where it should be installed and what type of lens is appropriate.
Choosing the Right Projector for Large Venues
Selecting the right large venue projector determines how successful the entire setup will be. For auditoriums the projector must be chosen based on brightness resolution throw ratio and the type of projection technology. Large venues often require projectors with at least 8000 lumens or more depending on ambient light. Laser projectors are preferred because they deliver stable brightness and require minimal maintenance. Resolution plays a major role in auditoriums because larger screens demand more pixel density to maintain clarity. For events conferences and education spaces a minimum of WUXGA is recommended while 4K projectors are ideal for premium visual experiences. Most importantly the throw ratio determines how far the projector needs to be placed from the screen. A projector with interchangeable lenses allows maximum flexibility for installation.
Calculating Screen Size and Placement
Proper screen size and placement are crucial to ensure that all audience members have a comfortable viewing experience. Screens that are too small strain visibility while screens that are too large may cause distortion or require impractical projector placement. The screen height should usually be around one sixth of the distance from the screen to the farthest viewer. Additionally the bottom of the screen should be comfortably visible above the head level of seated attendees. Screen placement also depends on ceiling height stage layout and sightline considerations. The projector must be positioned so that its lens sits perpendicular to the screen. Any deviation can lead to alignment issues.
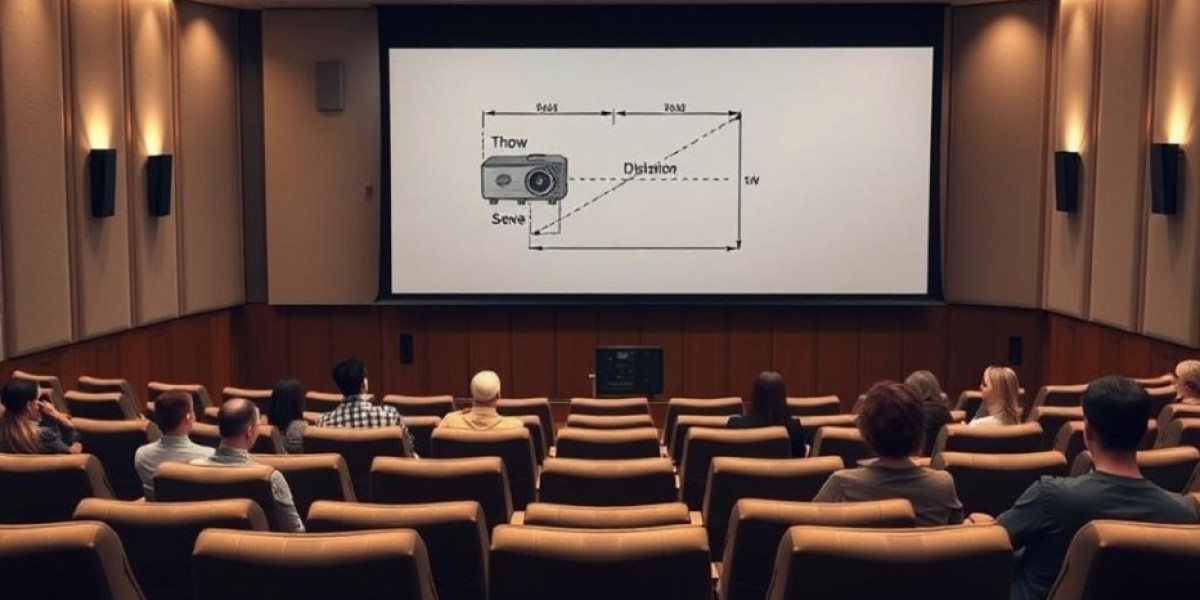
Setting Up Throw Distance Correctly
Throw distance is the most important calculation in auditorium projector setups. It refers to the distance between the projector lens and the screen. A long throw projector is typically required because auditoriums have greater distances from the control booth or ceiling mount area to the screen. Understanding the throw ratio helps installers determine the exact mounting point. For example a throw ratio of 2.0 means the projector must be installed at twice the width of the screen. Incorrect throw distance results in blurry distorted or undersized images. This is why installers rely on projection calculators before final installation.
Choosing the Best Projection Method
There are three primary projection methods used in auditoriums front projection rear projection and ceiling mounted projection. Each method has advantages and drawbacks. Front projection is the most common because it is cost effective and easier to integrate into existing spaces. Rear projection offers excellent image quality especially under bright lights but requires large backstage space. Ceiling mounting reduces shadows improves visibility and maintains a clean viewer line. The right choice depends on the auditorium size screen type available backstage area and event requirements.
Installing and Aligning the Projector
Once the projector type throw distance and mounting style are selected it is time to install and align the device. Ceiling mounts must be strong enough to support the weight of large venue projectors which are generally heavier than small conference room models. After securely mounting the projector the next step is image alignment. This involves adjusting focus zoom lens shift and keystone correction. Lens shift is especially useful in auditoriums because it allows the projector to be moved horizontally or vertically without tilting the unit which helps maintain image geometry. Keystone correction should only be used as a last resort because it can reduce image quality. The best alignment occurs when the lens is centered and perpendicular to the screen.
Managing Ambient Light in Large Auditoriums
Ambient light is a major challenge in large venues. Windows open entrances stage lighting and ceiling lights all contribute to light spill that washes out the projection. To manage ambient light auditorium projectors require high brightness levels paired with high contrast screens. Laser projectors are more capable of delivering consistent brightness even under challenging lighting conditions. Additionally light control measures such as blackout curtains directional lighting and controlled stage lighting help maintain projection quality.
Audio Visual Integration for Large Venues
A projector setup is only part of a complete auditorium AV system. To deliver a professional presentation the projection must sync perfectly with audio and other visual components. Integrating the projector with audio systems video switchers control systems and AV racks ensures that the entire setup functions seamlessly. Large venue installations usually require an AV control processor that allows operators to switch between sources adjust volumes and trigger automation presets. The AV rack should hold the projector input sources network switches and power management units. Proper cable management is crucial to avoid signal interference.
Avoiding Common Installation Mistakes
Many auditorium projection problems come from incorrect planning or rushed installation. Common mistakes include choosing projectors with insufficient brightness placing the projector at the wrong height using improper lenses or relying too much on keystone correction. Installers should avoid placing projectors too close to HVAC vents which can introduce dust or temperature variations. Additionally incorrect screen size or poor seating layout can ruin the viewing experience. Ensuring proper maintenance such as cleaning filters or scheduling laser engine diagnostics also prevents long term issues.
Optimizing Projector Brightness and Color Accuracy
After installation fine tuning begins. Brightness calibration is essential so that the screen is uniformly lit without hotspots. Laser projectors make this easier because they maintain consistent output over long periods. Color calibration ensures accurate reproduction for presentations videos and graphics. Many large venue projectors include built in color profiles and advanced image settings. The installer should adjust these based on ambient light screen type and viewing distance.
Choosing the Right Cables and Connectivity Options
Large venues require professional connectivity to ensure stable and high quality signal transmission. Standard HDMI cables may not be able to carry high resolution signals across long distances. Instead installers use HDBaseT fiber optic cables or SDI systems to transmit video signals over longer runs. Network connectivity is also crucial because modern projectors support remote control monitoring and diagnostics over LAN connections. Choosing the right cables prevents signal dropouts and ensures reliability during live events.
Maintenance Best Practices for Long Term Reliability
A well installed auditorium projector setup can last for many years with proper maintenance. Laser projectors require significantly less maintenance than lamp based models but still need regular cleaning and inspections. Air filters must be kept dust free and lens cleaning is essential to avoid image blur or speckling. It is also important to monitor usage hours color balance and brightness levels especially in large venues hosting frequent events. Scheduling routine checks prevents unexpected failures during live performances.
Using Projection Calculators and Software Tools
Projection calculators are essential tools that help determine throw distance screen size lens type and projector placement. They eliminate guesswork and ensure that installers make accurate decisions. Many AV professionals use advanced design tools to simulate the entire auditorium setup before installation. This ensures that the projected image fits perfectly on the screen based on room dimensions and lens specifications. Using these tools reduces errors and speeds up installation.
When to Upgrade to Laser Projection
Auditoriums using older lamp based projectors should consider upgrading to laser projection. Laser projectors offer higher brightness lower maintenance costs wider color gamut and longer lifespans. They are also quieter and more energy efficient. For venues hosting conferences worship services and performances laser projection significantly improves the visual experience and reduces operational downtime. The long term cost savings also make laser projectors a smart investment.
Future Proofing Auditorium Projection Systems
Technology in the AV industry evolves rapidly. To future proof an auditorium projection setup venues should consider projectors capable of 4K output flexible lens options and network connectivity for centralized management. Modular components should be chosen so the system can be expanded or upgraded easily. Using high quality screens HDMI 2.1 or fiber connections and smart control systems ensures compatibility with future devices. Planning the installation with scalability in mind helps avoid costly replacements.
Conclusion
A successful auditorium projector setup requires proper planning accurate calculations quality equipment and professional installation. Large venues demand bright high resolution and reliable projectors paired with proper lenses and screens. Careful evaluation of projector placement throw distance and ambient light ensures that every viewer receives a clear and immersive visual experience. With the right AV integration projector alignment maintenance practices and future proof design your auditorium can deliver exceptional projection performance for years.
Read more: https://bresdel.com/blogs/1306811/How-Bright-Should-an-Auditorium-Projector-Be-Lumens-Guide