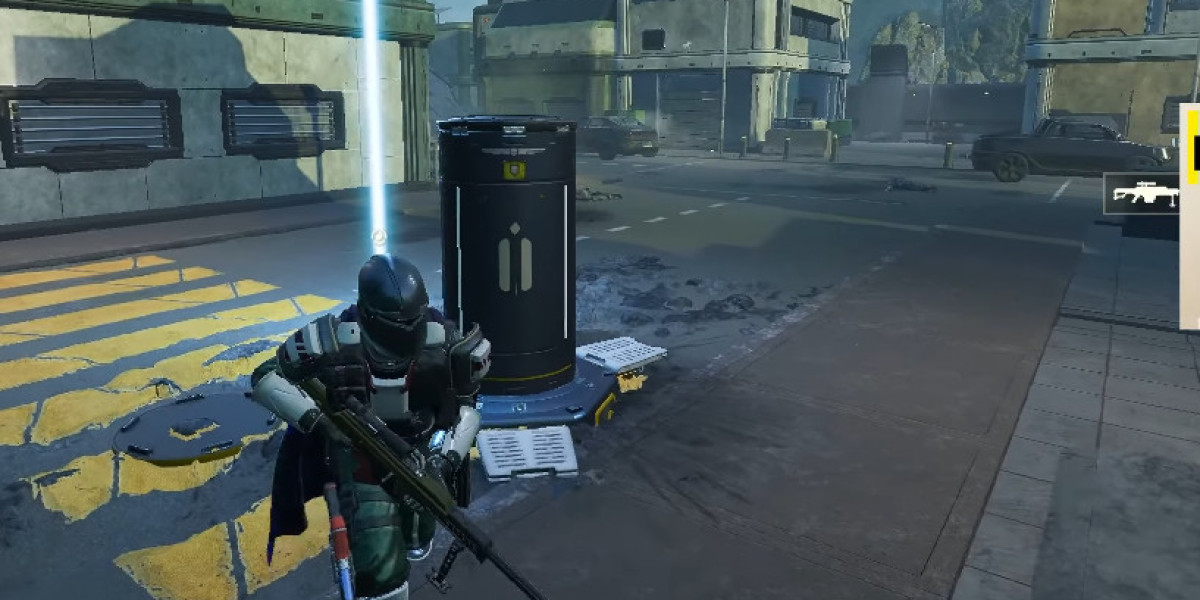

As a support weapon unlocked at level 15, the MLS-4X Commando presents a specific tactical option. For players wondering how it fits into their loadout and whether it’s worth the 8000 Requisition Slips, here’s a breakdown based on how it functions in actual gameplay.
What is the MLS-4X Commando, and how does it work?
The Commando is an expendable, four-rocket launcher classified as a Support Weapon. You call it in via stratagem, use its four missiles, and then discard the launcher. Its key feature is the dual firing mode: laser-guided and dumb-fire. In laser-guided mode, you must keep your reticle on the target for the missile to track it. Switching to dumb-fire mode turns it into a straightforward, unguided rocket launcher for closer ranges. It’s important to note that your firing mode selection resets every time you call down a new launcher.
How does the Commando compare to other anti-tank options?Most players evaluate it against two other disposable options: the EAT-17 and the orbital/ eagle stratagems.
Vs. EAT-17: The Commando has four shots versus the EAT’s two, offering more total damage per call-in (4,400 vs. 4,000). However, each individual rocket deals less damage. The Commando also has a significantly longer cooldown (120 seconds base vs. 70 seconds). In practice, this makes the EAT feel more readily available for frequent, heavy threats, while the Commando is a heavier commitment for a clustered engagement.
Vs. Recoilless Rifle/Railgun: Unlike these reusable backpacks, the Commando is fire-and-forget. You don’t need a loader or manage ammo beyond the four rockets. It occupies a middle ground, offering full Anti-Tank II penetration without the setup or team coordination of the Recoilless Rifle.
What are its main strengths and weaknesses in the field?
In general, the Commando excels in a few specific scenarios:
Engaging Multiple Heavies: Its four-rocket capacity lets you quickly engage several Chargers or Bile Titans in succession if you’re accurate.
Long-Range Precision: With no projectile drop, laser-guided rockets can hit targets from extreme distances, useful for taking out Automaton fabricators or bug holes safely.
Weak Point Targeting: Despite its lower per-shot damage than some alternatives, its high penetration means it will destroy most heavy unit weak points in one shot. This makes it efficient against Hulks, Factory Strider turrets, and Charger armor plating.
Its weaknesses are equally clear:
Slow Projectiles: The missiles travel slower than other rockets, making it harder to hit moving targets at range.
Cooldown Management: The long cooldown means if you waste shots or the team uses multiple Commandos, you can be left without anti-tank options for a while. For players looking to speed up their progression and acquire stratagems like this faster, some may be tempted to buy Helldivers 2 medals online at U4N, though earning them through gameplay is the intended and most reliable method.
Skill Requirement: Effective use of the laser guidance requires you to maintain aim on the target, which can be difficult under pressure.
When should most players consider bringing it?
The Commando is a solid choice on higher difficulties (Suicide Mission and above) where heavy armor is plentiful, especially against Automatons. It’s particularly useful for teams that lack coordinated Recoilless Rifle users. If you’re playing a solo or duo mission and need a versatile, powerful anti-tank option that doesn’t require a backpack, the Commando is a strong contender. However, for quick in-and-out missions or against the Terminids where mobs are denser, many players prefer the faster cooldown of the EAT or the area control of orbital strikes.
Are there any important ship modules or tactics to use with it?
Yes. The Streamlined Request Process module (reduces Support Weapon cooldown by 10%) and Morale Augmentation (reduces all stratagem cooldowns by 5%) are very valuable for mitigating the Commando’s long cooldown. The Streamlined Launch Process module is also helpful as it causes the weapon to launch from the Hellpod immediately upon landing, saving you a few seconds in a pinch.A common tactic is to use the first one or two rockets in dumb-fire mode for closer, immediate threats, then switch to laser-guidance for longer-range targets. Remember, you can hip-fire after initially lasing a target; the rocket will continue to track without you aiming down sights.
In summary, the MLS-4X Commando is a powerful, situational tool. It rewards good aim and tactical foresight but punishes wasted shots due to its cooldown. It won’t replace every anti-tank option in your arsenal, but it reliably earns its stratagem slot when you need concentrated firepower against a wave of heavy armor.