In the world of DIY electronics, controlling a dc motor is one of the most common and exciting projects for beginners and hobbyists alike. Whether you're building a robot, an automated fan, or a simple conveyor system, learning how to use a relay board to control a motor can open up many possibilities.
This guide will walk you through the concept, components, working principle, and step-by-step process of smart motor control using a relay.
What is a DC Motor?
A dc motor is an electrical device that converts direct current (DC) electrical energy into mechanical motion. It is widely used in small electronics, robotics, toys, and industrial applications due to its simplicity and efficiency.
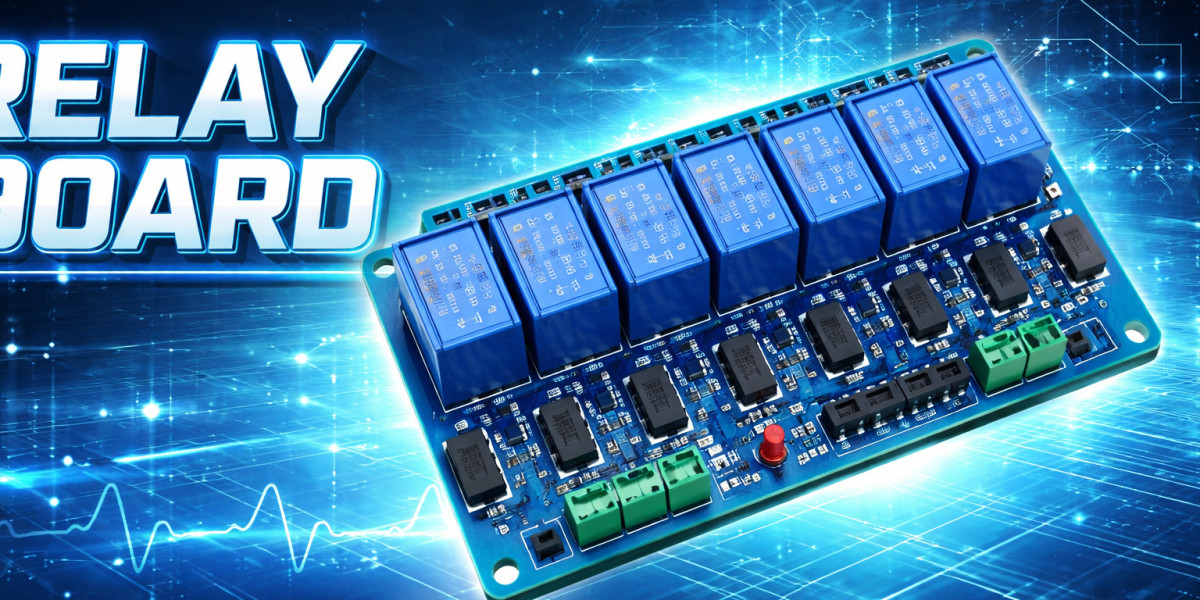
What is a Relay Board?
A relay board is a module that allows low-power devices like microcontrollers (Arduino, Raspberry Pi, etc.) to control high-power electrical devices. It acts as a switch that can turn devices ON or OFF safely.
Why Use a Relay Board with a DC Motor?
Using a relay board provides several advantages:
- Isolation: Protects your microcontroller from high voltage/current
- Easy Switching: Turn the motor ON/OFF with simple signals
- Automation: Integrate with sensors or timers
- Safety: Reduces risk of circuit damage
Components Required
To build your smart motor control system, you’ll need:
- DC Motor
- Relay Board (Single-channel or multi-channel)
- Power Supply (Battery or Adapter)
- Microcontroller (Optional, like Arduino)
- Connecting wires
- Breadboard (optional)
Working Principle
The relay board acts as an electrically operated switch. When a control signal is sent (from a button or microcontroller), the relay closes the circuit and allows current to flow to the dc motor, making it run.
- Relay OFF: Circuit is open → Motor OFF
- Relay ON: Circuit is closed → Motor ON
Step-by-Step Setup
1. Connect the Relay Board
- Connect VCC and GND of the relay board to the power source
- Connect the IN pin to a control signal (button or microcontroller output)
2. Wire the DC Motor
- Connect one terminal of the motor to the power supply
- Connect the other terminal to the relay's NO (Normally Open) pin
- Connect COM pin of relay to power supply
3. Power Up the Circuit
- Turn on the power supply
- Activate the relay using a signal
4. Control the Motor
- When the relay is triggered, the dc motor starts running
- When the relay is off, the motor stops
Smart Control with Microcontroller
You can make your system smarter by using a microcontroller:
- Control motor via mobile app (Bluetooth/Wi-Fi)
- Automate using sensors (temperature, light, motion)
- Set timers or schedules
Example use cases:
- Smart cooling fan
- Automatic plant watering system
- DIY robot car
Safety Tips
- Always check voltage ratings of the relay
- Avoid direct contact with live wires
- Use proper insulation
- Double-check connections before powering on
Conclusion
Smart control of a dc motor using a relay board is a simple yet powerful DIY electronics project. It helps beginners understand switching mechanisms and opens the door to automation and robotics. With a few components and basic knowledge, you can create intelligent systems that respond to your commands or environmental changes.