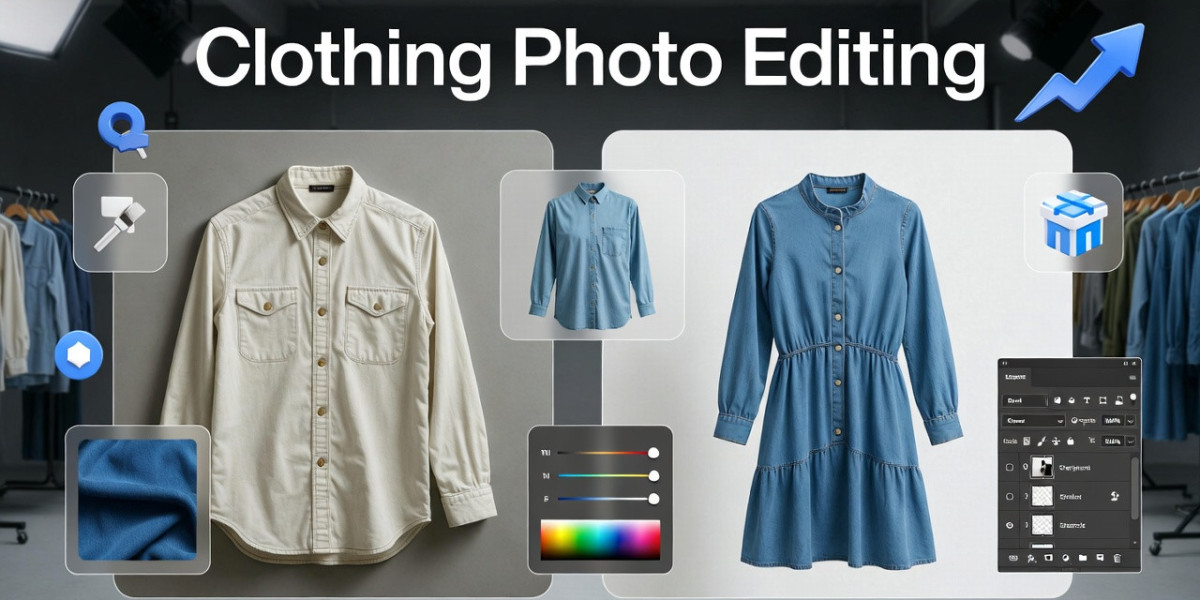

In the competitive world of fashion eCommerce and digital marketing, visuals sell before words do. A single image can determine whether a customer clicks “buy” or scrolls past. That’s where clothing photo editing becomes essential. From removing wrinkles to correcting colors and enhancing fabric texture, high-quality editing transforms ordinary apparel photos into polished, sales-ready visuals.
Whether you're running an online store, managing a fashion brand, or working as a photographer, mastering clothing image enhancement is no longer optional—it’s a necessity. Clean, consistent, and visually appealing product images build trust and significantly improve conversion rates.
In this guide, you'll discover expert techniques, tools, and strategies to achieve flawless results in clothing photo editing—while keeping your workflow efficient and aligned with modern SEO and eCommerce standards.
Why Clothing Photo Editing Matters in eCommerce
High-quality product images directly impact purchasing decisions. Studies show that over 75% of online shoppers rely on product visuals before making a purchase.
Key Benefits:
- Improves product appeal by enhancing colors, textures, and details
- Boosts conversion rates by increasing buyer confidence
- Maintains brand consistency through uniform visuals
- Reduces returns by accurately representing products
Real Impact Comparison
| Factor | Unedited Image | Edited Image |
|---|---|---|
| Color Accuracy | Dull or incorrect | True-to-life |
| Background | Distracting | Clean and minimal |
| Fabric Details | Hidden | Sharpened and enhanced |
| Professional Appeal | Low | High |
Tip: Platforms like Shopify and Amazon prioritize clean, white-background images for product listings.
Essential Techniques for Flawless Clothing Photo Editing
1. Background Removal and Cleanup
A clean background keeps the focus on the product. Most eCommerce platforms prefer white or neutral backgrounds.
How to do it:
- Use tools like Photoshop’s Select Subject or AI-based tools such as Remove.bg
- Refine edges for fabrics like lace or fur
- Add subtle shadows for realism
2. Color Correction and Matching
Color inconsistency is a major reason for product returns.
Best practices:
- Adjust white balance and exposure
- Use color calibration tools
- Match product colors across all images
Professional insight: Always compare edited images with real garments under natural light.
3. Wrinkle Removal and Retouching
Wrinkles can make even premium clothing look less appealing.
Steps:
- Use frequency separation in Photoshop
- Apply healing brush or clone stamp
- Maintain fabric texture while smoothing
4. Ghost Mannequin Effect
This technique creates a 3D hollow look, making clothes appear worn without a model.
Why it works:
- Keeps focus on product shape
- Saves cost on models
- Delivers a professional appearance
5. Shadow and Lighting Adjustment
Natural shadows add depth and realism.
Tips:
- Use drop shadows sparingly
- Maintain consistent lighting across images
- Avoid harsh or unrealistic shadows
Best Tools for Clothing Photo Editing
Professional Software
| Tool | Best For | Skill Level |
|---|---|---|
| Adobe Photoshop | Advanced editing and retouching | Advanced |
| Lightroom | Color correction and batch edits | Intermediate |
| Capture One | Studio-quality color grading | Advanced |
AI-Powered Tools
- Remove.bg – Background removal
- Canva Pro – Quick edits for beginners
- Fotor – AI retouching and enhancement
Expert tip: Combine manual editing with AI tools for both efficiency and precision.
Workflow for Efficient Clothing Photo Editing
A streamlined process saves time and ensures consistency.
Step-by-Step Workflow:
- Import raw images
- Perform background removal
- Adjust exposure and color
- Retouch wrinkles and imperfections
- Apply shadows and finalize
- Export in optimized format, such as JPEG or PNG
Keeping presets or templates helps maintain consistency across large product catalogs.
SEO Optimization for Clothing Images
Optimizing images is essential for ranking in Google Images and improving website performance.
Key SEO Tips:
- Use descriptive file names such as blue-denim-jacket-front.jpg
- Add ALT text with the focus keyword clothing photo editing
- Compress images without losing quality
- Use WebP format for faster loading
Example resource: Google Image SEO Guidelines
https://developers.google.com/search/docs/appearance/google-images
Common Mistakes to Avoid
- Over-editing that results in unnatural colors or textures
- Lack of consistency across product images
- Exporting low-resolution files
- Skipping proper color calibration
A practical rule is that if the product looks noticeably different in real life, the edit needs adjustment.
FAQs About Clothing Photo Editing
What is clothing photo editing?
Clothing photo editing is the process of enhancing apparel images by adjusting colors, removing backgrounds, fixing wrinkles, and improving overall visual quality for professional use.
Which software is best for clothing photo editing?
Adobe Photoshop is widely used for detailed editing, while Lightroom is ideal for color adjustments. Beginners often prefer Canva or Fotor for ease of use.
How much does clothing photo editing cost?
Costs depend on the complexity:
- Basic edits: $0.50 to $2 per image
- Advanced retouching: $5 to $20 per image
What is the ghost mannequin effect?
It is a technique that removes mannequins from clothing images to create a 3D hollow look that highlights the garment’s shape.
How can I improve clothing image quality?
Use proper lighting during photography and enhance images through color correction, sharpening, and background cleanup during editing.
Conclusion and Call-to-Action
Flawless clothing photo editing is a key factor in building a successful online fashion presence. From clean backgrounds to accurate colors and refined details, each improvement contributes to a better user experience and increased sales.
By applying the techniques, tools, and workflow outlined in this guide, you can create professional-quality images that attract attention and convert visitors into customers.