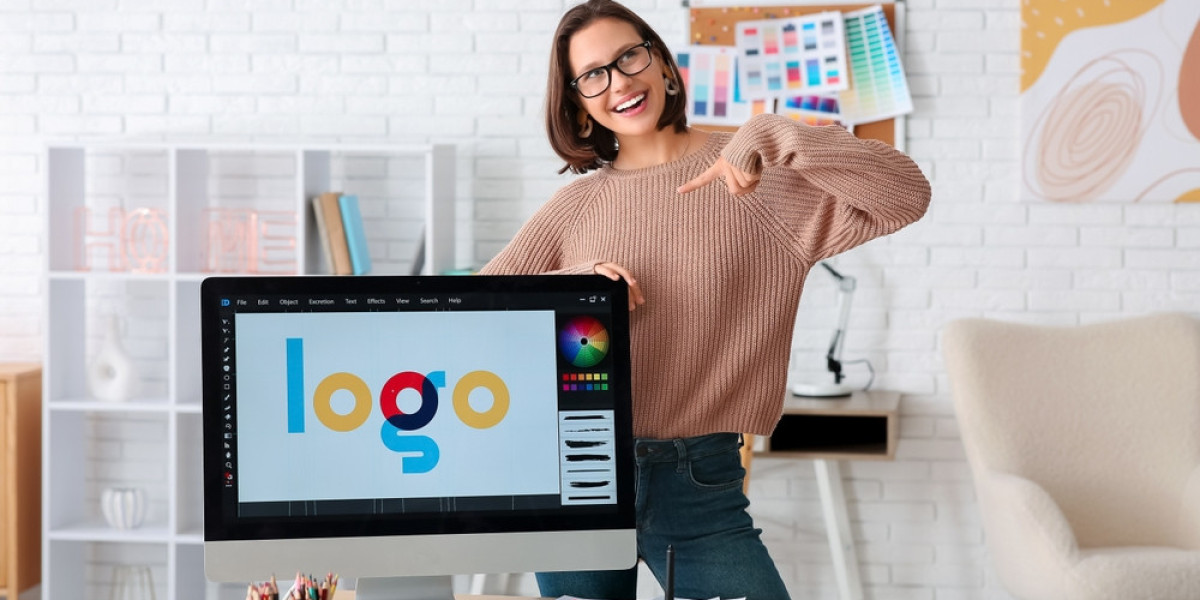

If you’ve ever tried to embroider a logo only to end up with a messy, distorted mess, you know how frustrating it can be. The secret to crisp, professional-looking embroidery isn’t just the machine or the thread—it’s the digitizing process. Turning your logo into a file an embroidery machine can read isn’t as simple as uploading an image and hitting "go." It takes skill, precision, and a good understanding of how stitches interact with fabric.
So, how do you digitize your logo for embroidery the smart way? Let’s break it down without drowning in technical jargon.
Why Digitizing Matters More Than You Think
Your logo might look amazing on paper or a screen, but embroidery is a different beast. Unlike printing, where ink sits on top of fabric, embroidery involves threads looping through material, which can cause puckering, gaps, or blurry edges if not handled correctly. That’s where digitizing comes in.
Digitizing is the process of converting your logo into a stitch file (like .DST or .PES) that tells the embroidery machine exactly how to move—what stitches to use, in what order, and at what density. A well-digitized logo will sew out smoothly, with clean lines and no thread breaks. A poorly digitized one? Think of it like a printer running out of ink mid-page—except instead of smudges, you get loose threads and warped shapes.
The Biggest Mistakes People Make When Digitizing Logos
Before we get into the right way to digitize, let’s look at the most common mistakes that ruin embroidered logos:
- Using Auto-Digitizing Software – Some programs claim to instantly convert images into embroidery files, but they rarely account for stitch direction, pull compensation, or fabric type. The result? A stiff, clunky mess.
- Ignoring Fabric Differences – A logo digitized for a thick hoodie won’t sew well on a thin polo. The fabric affects tension, so the digitizing must adapt.
- Too Much Detail – Tiny text, gradients, and ultra-fine lines often don’t translate well into stitches. Simplifying the design helps.
- Skipping a Test Stitch-Out – Even the best digitizers run test sew-outs to catch errors before mass production. Skipping this step risks wasted time and materials.
The Smart Way to Digitize Your Logo
Now that we know what not to do, here’s how to digitize your logo the right way—whether you’re doing it yourself or hiring a pro.
1. Start with a High-Quality Image
The cleaner your original file, the better the digitized result. Vector files (like .AI or .EPS) are ideal because they scale without losing quality. If you only have a JPEG or PNG, make sure it’s high-resolution with clear edges. Blurry or pixelated logos lead to guesswork in digitizing, and guesswork leads to sloppy embroidery.
2. Simplify if Necessary
Embroidery isn’t great at replicating photo-realistic details. If your logo has tiny text, intricate shadows, or super-thin lines, consider simplifying it before digitizing. For text, avoid fonts smaller than 0.25 inches—they’ll turn into unreadable blobs.
3. Choose the Right Stitch Types
Not all stitches are the same. A good digitizer knows when to use:
- Satin stitches (for smooth, shiny borders and text)
- Fill stitches (for solid areas of color)
- Running stitches (for fine details and outlines)
Using the wrong stitch type can make your logo look bulky or uneven.
4. Adjust for Fabric & Garment Type
A logo on a baseball cap needs different settings than one on a stretchy T-shirt. Thick fabrics like denim can handle denser stitching, while lightweight materials need lighter underlay to prevent puckering. Always specify the fabric type when getting your logo digitized.
5. Use Proper Pull Compensation
Fabric moves as the needle punches through it, which can distort shapes. Pull compensation adjusts the stitch placement to counteract this. Without it, circles turn into ovals, and straight lines curve.
6. Test Before Mass Production
Never skip the test sew-out. Even the best digitized files can have surprises when stitched on actual fabric. A test run catches issues like thread breaks, misaligned colors, or tension problems before you embroider 100 shirts with a flawed design.
DIY Digitizing vs. Hiring a Pro
If you’re just starting, you might wonder if you can digitize your logo yourself. There are software options like Wilcom, Hatch, or Embrilliance, but they come with a steep learning curve. Unless you’re willing to spend hours (or days) mastering stitch types, underlay, and density settings, DIY digitizing often leads to frustration.
Hiring a professional digitizer is the smarter choice if:
- You need consistent, high-quality results.
- You’re embroidering for clients or selling products.
- You don’t have time to tweak designs endlessly.
Professional digitizers do this every day—they know how to make your logo look its best on any fabric, with minimal trial and error.
How to Find a Good Digitizing Service
Not all digitizing services are equal. Here’s what to look for:
- Experience with logos (some specialize in simple designs, others handle complex artwork).
- Fast turnaround (some offer 24-hour service if you’re in a rush).
- Revisions policy (will they tweak the file if the first test isn’t perfect?).
- Reasonable pricing (super-cheap services often cut corners).
Ask for samples of their work, especially if your logo has fine details or special effects.
Final Tip: Keep Your Digitized Files
Once you have a perfectly digitized logo file, save it! You can reuse it for future orders, adjusting only if you change fabrics or sizes. This saves time and money in the long run.
The Bottom Line
Digitizing your logo for embroidery doesn’t have to be a headache. By starting with a clean design, understanding stitch basics, and either learning professional software or outsourcing to an expert, you can ensure your logo looks sharp every time it’s stitched.
The smartest approach? Unless you’re planning to digitize daily, leave it to the pros. A small investment in quality digitizing means no wasted materials, no frustrated customers, and a logo that looks as good on fabric as it does on your business card.
Ready to get your logo embroidery-ready? Find a trusted digitizing service, send them your best file, and get ready for flawless stitching. Your brand deserves nothing less.